Beginner's Tile Tools Guide for DIY Installation
New to tile work? This comprehensive beginner's tile tools guide covers everything you need for installing tiles yourself, including essential tools like cutters, spacers, and trowels, making the process easy and accessible.
Asil atique
5/3/20252 min read
Thinking of installing tiles yourself?
Good news it’s not just a budget friendly move, it’s also super satisfying when you get it right. Whether you’re trying to handle a bathroom floor, adding some style to your kitchen backsplash, or giving your shower wall a fresh new look, one thing really matters you must be having the right tools.
This easy and beginner friendly guide walks you through all the must have DIY tile tools, step-by-step, based on each part of your project.
1. Prep Tools : Get the surface Ready
Before you stick any tiles, you need a smooth, clean surface. Here's what you need to get started:
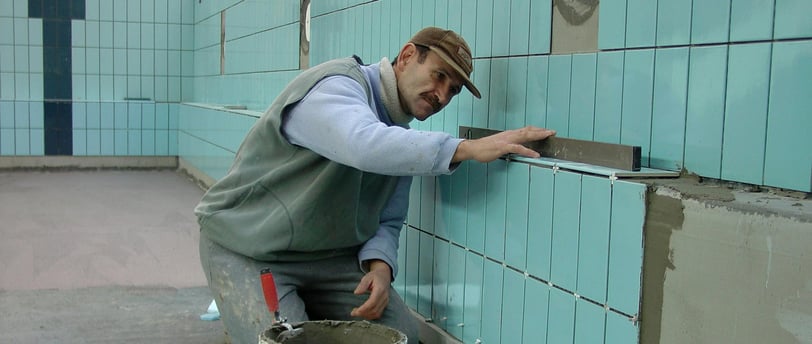
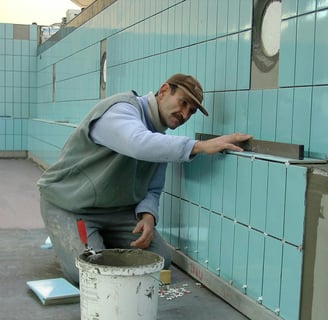
Notched Trowel – Spreads the glue (adhesive) evenly. Use a ¼” x ¼” one for small tiles.
Tile Spacers – These keep the space between your tiles even. Try sizes like 1/8", 3/16", or 1/4".
Level (2 to 4 feet long) – Makes sure your surface is flat so the tiles don’t look crooked.
Utility Knife + Chalk Line – The knife cuts stuff like underlayment, and the chalk line helps you mark straight lines.
Pry Bar + Hammer – Helps pull up old flooring or tiles.
Expert Advice: Always check if the floor or wall is flat. If it’s bumpy, your tiles won’t sit right.
2. Cutting Tools: Shape Your Tiles Like a Pro
Tiles rarely fit perfectly without some cuts, especially around corners, outlets, and pipes.
Tools must have:
Manual Tile Cutter: Great for straight cuts on ceramic or porcelain.
Tile Nippers: Perfect for small corners or curves.
Angle Grinder + Diamond Blade: Ideal for complex cuts or stone tiles.
Wet Saw (Recommended): Essential for large projects or tough materials.
Budget advice : Rent a wet saw from Home Depot or Lowe’s to save money!
3.Adhesive & Grouting Tools
This phase is where tiles come together and stick (literally).
Tools you'll need:
Buckets + Mixing Paddle: Mix thin-set mortar and grout.
Grout Float: Pushes grout into joints smoothly.
Margin Trowel: For smaller mortar touch-ups.
Caulk Gun + Silicone Sealant: Seal edges where water might sneak in.
Expert advice : Mix small batches of mortar it dries quickly.
4.Finishing Tools: The Final Touch
Cleaning grout haze and polishing tiles makes all the difference.
Finishing must-haves:
Sponges & Buckets: Wipe off excess grout before it dries.
Rubber Mallet: Tap tiles gently to set them without cracks.
Microfiber Cloths: Buff your tiles to shine.
Tile Sealer & Applicator: Especially important for natural stone or unglazed tile.
5.Safety Gear: Don’t Skip This!
Tile shards, dust, and chemicals require protection.
Gloves & Safety Glasses: Essential for every phase.
Dust Mask/Respirator: Crucial while cutting tile or mixing products.
Knee Pads: Floor work = sore knees without them.
Optional (But Smart) Tools
If you want to tile like a seasoned pro, these tools take your project up a notch:
Laser Level: Helps with long, straight lines.
Tile Leveling System: Prevents lippage (uneven tile edges).
Oscillating Tool: Undercuts door jambs or trims tricky spots.
Shop Vac: Keeps workspace dust-free.
Budget-Friendly Tips
Rent Large Tools: Save on costs by renting wet saws, laser levels.
Buy Used: Check Facebook Marketplace or Craigslist.
Borrow: Ask neighbors or look for local tool-lending libraries.
Pro Advice for DIY Success
Plan Tile Layout First: Dry-fit before applying adhesive.
Work in Small Sections: Prevents mortar from drying out mid-way.
Seal Grout After 48–72 Hours: Keeps stains and moisture away.
Final Thoughts: Ready to Tile Like a Pro?
With the right DIY tile installation tools, you're not just saving money—you’re building skills. Start with a manageable project like a backsplash or entryway floor, and build your confidence from there.
Each tile you lay brings you closer to a beautiful, handcrafted finish—and a serious sense of accomplishment.